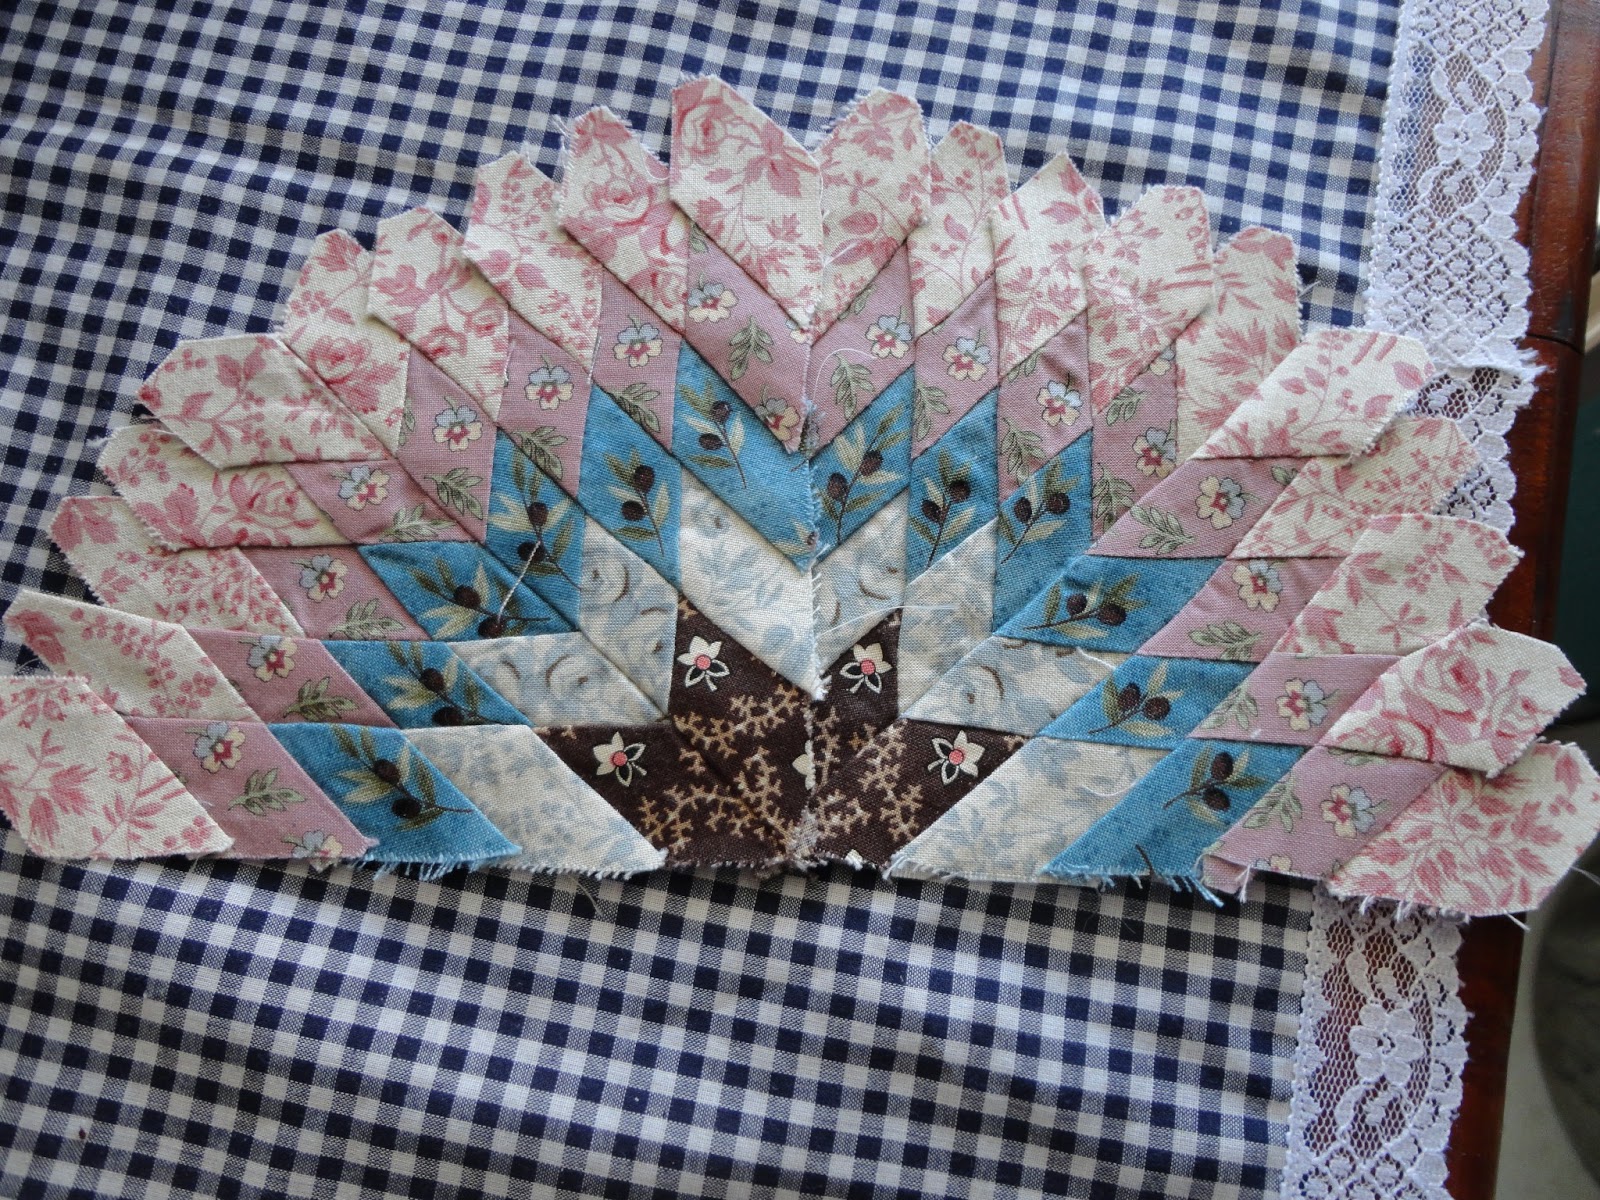
I have been very busy trying to get other stitching done before the next LE block came out. I think i did pretty well. I managed to get some Phebe things done for my daughters version and my own, as well as a little more done on the Sunburst Star block for the Morrell Quilt.
Nearly there.
This is arduous as there are so many pieces and hand piecing takes me a long time, but it looks great so its worth it.
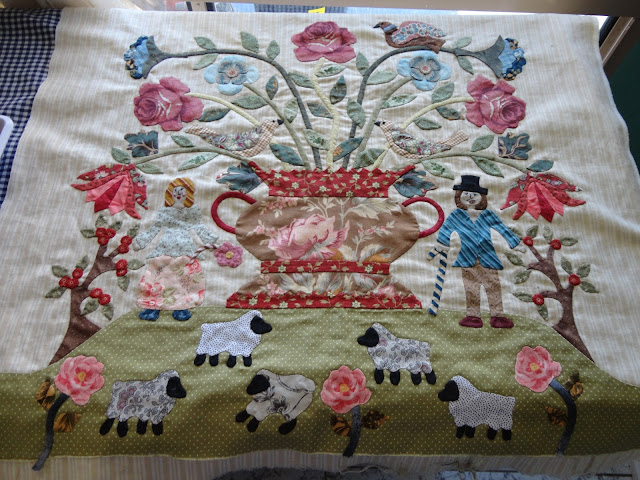 |
| DD's Phebe |
Everything's coming together nicely now and DD is happy with it so thats all that matters !
 |
| My Phebe |
My Phebe is coming along as well and I'm really happy with it too.
Its "officially" A Phebe now thanks to LuAnn over at
She kindly provided me with the Original Fabric for the dress and top!
THANKS LuAnn :)
I Couldn't resist a little Broderie Perse flower.
I also took extra shots of how i Turn my edges ready to applique
All you need is some freezer paper A quilting pin and some Elmers Glue or other washable quilting glue.
 |
| Start off by cutting your pattern out of freezer paper no seam allowance added |
 |
Iron your freezer paper onto the right side of your fabric. The freezer paper acts as a guide to our turn line instead of drawing on it. It also adds stability and makes turning the edge easy.
Cut your fabric with a very scant 1/4 " seam allowance. I prefer 3/16 but thats because I'm used to smaller allowances and I'm "Tight" with my fabric lol |
 |
| Whenever you have a tip or point to turn always do this first. Pop the glue on the tip and turn it down, so it just shows the paper underneath as in the pic above. Sometimes to get the right point you have to turn it down even further. |
 |
| Glue the bottom curved edge |
 |
Using your quilting pin and first (pointer) finger to turn the edge slowly and in little increments not big bits.
Slow and small wins the race. |
 |
| Glue down one side of triangle. Please excuse my edge. I cut a little too deeply but I'm a fabric miser so i made do anyway |
 |
| Start at the bottom curved edge and work your way up to the tip. |
 |
| Glue down the other side but this time work from the tip down. |
 |
| You should end up with a nice neat tip. |
 |
Finished Triangle neatly glued and all ready to applique.
I then take my glued pieces and use "Roxanne's Glue Baste It" to baste them in place on my quilt. |
I used the same technique for the small leaves that go in between the triangle border.
Now that i have finished the Compass and her borders I'm going to move onto the petal flowers and the Parallelogram borders.
I wont be adding the borders until i have finished appliqueing all of the centre as i don't want it to bubble and not sit flat. So, I'm going to English Piece the borders and save them for later.
I have printed the template out on freezer paper and then ironed another sheet of freezer paper onto that so it is two layers thick. This will be sufficiently thick to use for english paper piecing.
I will be able to iron it onto the fabric as well. Bonus !
And i think that'll do :)
Keep on Stitching,
Kel.